- You are here:
- Home »
- Blog »
- genealogy »
- Photographing Tombstones
Photographing Tombstones

Genealogists photograph tombstones to document the birth, death and burial information of their ancestors. This post will give you some tips on how to get the best possible results when taking those important pictures.
Locating Cemeteries
Your first challenge might well be just getting to the cemetery. Hopefully you have an obituary or burial record for your ancestor that gives the name of the cemetery. Depending on how old the record is, finding that cemetery can be very easy or impossible. There are some tricks that can help you.
Start with an Internet search for the cemetery name. Try searching the major mapping sites as well as regular search engines. If you don’t find it by name, or if you don’t know the name, try just searching for “cemeteries” in the town and county where the person last lived. The cemetery could have changed names but the new name might be obvious if you look at a graveyard list.
Another good map service is The US Geological Survey. They have maps dating back to the 1880’s online. You might find that old cemetery there.
If you can’t locate the cemetery online, see if you can find the name of the agencies that administer cemeteries in the town and county of interest. It might be a sexton offices or a government agencies. Call any numbers you can find and ask about the cemetery. Try calling the county clerk’s office. Someone there can probably point to the right contact (or maybe even know the location themselves).
Call town and county historical and genealogical societies. These might be your best source of information about old or little know burial grounds.
Locating Graves
Now that you know how to get to the cemetery, you have to locate the grave site. In small cemeteries you can just walk the rows but, for cemeteries with thousands of graves spread over many acres of land that isn’t practical. Use what you learned during your cemetery search to help you. Visit the cemetery administration office or sexton’s office. They should have maps or lists of grave sites in that cemetery. In some cases, these lists have even been posted on the Internet.
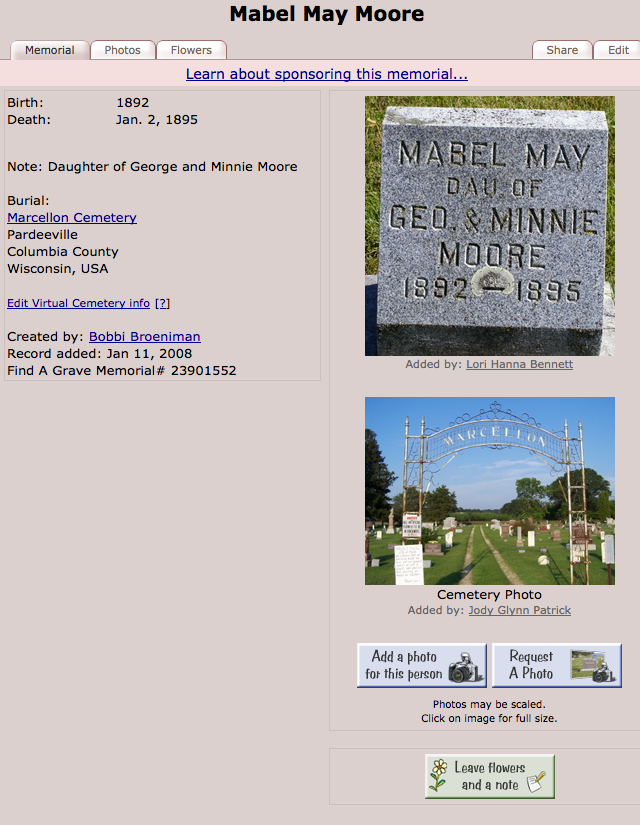
Try searching on Find-a-Grave. I am always amazed at how complete that sites records are. Billion Graves is another good place to look.
Call or visit historical and genealogy societies in the area. Many societies have done cataloging projects for local cemeteries. These can be a real boon to researchers.
You can also try genealogy forums. Another family researcher might have visited the grave and can help you find it.
If you can’t find the grave location ahead of time, go ahead and visit the cemetery anyway. You might find a map or burial list posted somewhere on the grounds. I have seen them on maintenance buildings , the backs of cemetery signs and even on the walls of outhouses. If any grounds keepers are working, ask them for help. No one knows the cemetery better than they do. If all else fails, you will be back to walking the rows of graves.
Photographing the Stone
Prepare the stone for the photograph by cleaning up any trash laying nearby. Use scissors or shears to trim any grass or weeds that might be covering the stone. Do not cut any trees, bushes or decorative plantings without permission. You can carefully hold or tie them back (or have an assistant hold them) when you take the photo.

DO NOT clean the stone itself unless you know exactly what you are doing and have permission. Too many tombstones have been worn or damaged by well meaning people who tried to clean off dirt, moss or lichens. It is far better to get the best picture you can with the stone as it is than to risk any damage. At the most, spray on a little water and very gently wipe the stone with your hand. Besides, those imperfections add character.
If the day is bright and nothing obscures the stone, you can probably take your photo hand held. In most cases though, you will get much better results with your camera on a tripod. Set it up, focus on the stone and carefully examine the scene in the viewfinder or on the digital cameras screen. You can also take a trial shot with your digital camera and examine it on the screen. Many cameras will let you zoom in when viewing photos.
Look for shadows from the camera , tripod and photographer. If you are using a zoom lens or can changes lenses, move the tripod back and zoom in until the shadows no longer fall on the stone. Another trick is to have a helper shade the whole stone with a jacket, your reflector or with their own body.
Is the inscription clear? If bright sunlight is washing out contrast, shade the stone as above. Use a reflector to light the stone from an angle so shadows in the grooves of the inscription letters make them stand out. Spray the stone with water and let it dry for a minute or so. The water in the grooves should dry slower than that on the surface making the letters stand out. Don’t use chalk, paint or anything else to enhance the engraving. Chemicals in anything you add can cause permanent damage to the stone.
Take several photographs with different lighting and, if your camera supports it, different exposure settings. You can change the camera angle slightly but don’t get too far off straight on. Don’t skimp on the number of pictures you take. It is much easier to do it now than to come back again to re-shoot.
Tips and Warnings
Dress properly for your cemetery visit. Wear comfortable shoes and apply sunscreen. Carry bug spray just in case. Long pants will help protect from prickly weeds and bugs as well as saving your knees when you kneel down.
Don’t just photograph the gravestones. Take a few photos of the cemetery itself. Get pictures of signs, any maps and wide shots of the burial ground.
You can make a good reflector by gluing aluminum foil to the back of a 2 foot square piece of white poster board. Try the white and shiny sides to see which works best in each situation.
Don’t clean or alter any gravestone without permission and expert advice.
Share your findings on Find-a-Grave and Billion Graves.
Session expired
Please log in again. The login page will open in a new tab. After logging in you can close it and return to this page.
Thomas,
I want to let you know that your blog is listed in today’s Fab Finds post at http://janasgenealogyandfamilyhistory.blogspot.com/2015/06/follow-friday-fab-finds-for-june-26-2015.html
That's helpful to know. Thank you for posting it. I've included your post in my NoteWorthy Reads for this week: http://jahcmft.blogspot.com/2015/06/noteworthy-reads-18.html.